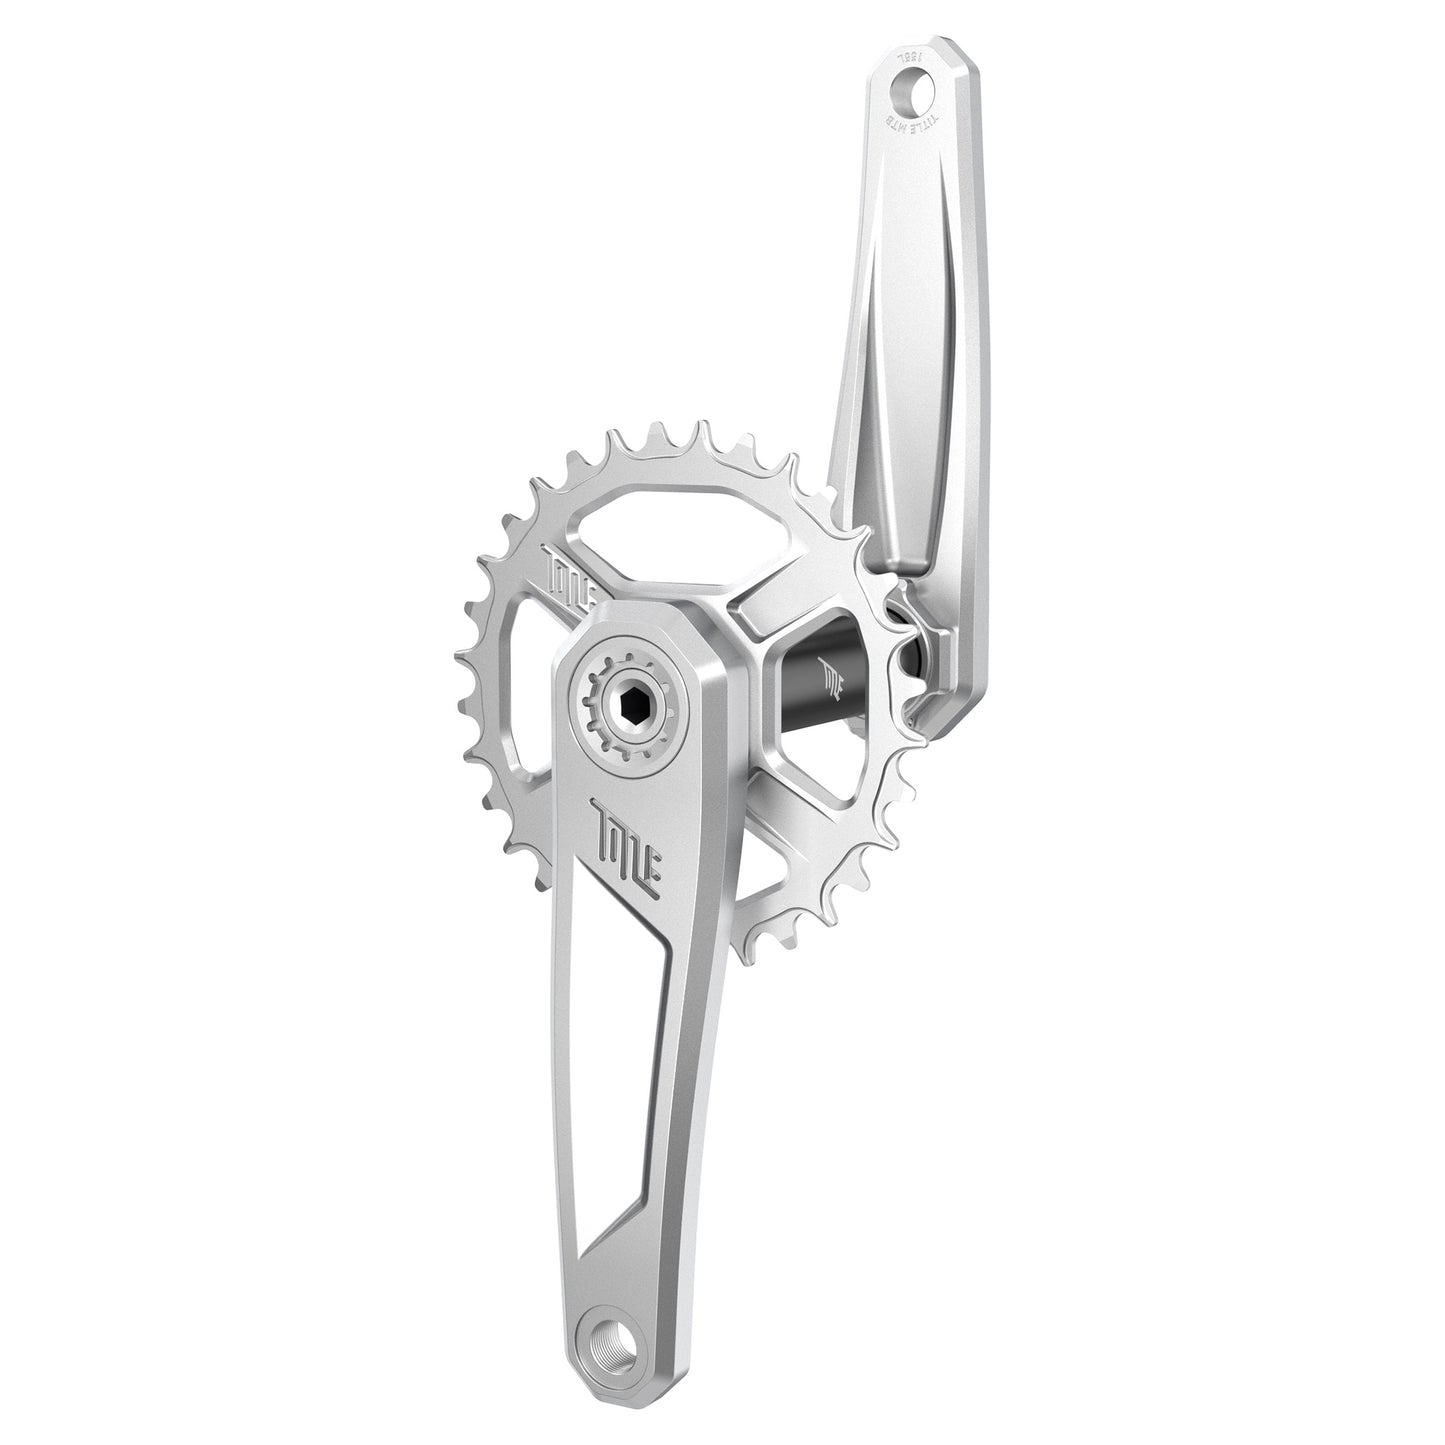

Title CR1 Crankset - Chrome
Title CR1 Crankset - Chrome
- Chainring Details:
- Spindle included
- Colour:
- Chrome
- Chainring Fitment:
- SRAM Direct Mount
- Crank Arm Length:
- 165mm
- Frame Fitment:
- 68-73mm and BB86-92
- Spindle Size:
- 28.99mm DUB
SKU:
Couldn't load pickup availability
The CR1 platform was developed to eliminate the headaches of finding the right crankset for different bikes. With interchangeable spindle options and broad drivetrain compatibility, riders can configure the CR1 for everything from a dirt jumper to a World Cup downhill bike.
Designed for SRAM DUB bottom brackets.
Rigorously tested by EFBE. Passed TRI-TEST® GR. Certified for enduro, freeride, and downhill mountain bikes.
Which Spindle Do I Need?
Choosing the correct spindle depends on your bike's frame and drivetrain setup. But as a general rule of thumb, compatibility is as follows:
- 130mm spindle – Dirt Jump and non-Boost bikes
- 136mm spindle – Most modern Trail and Enduro bikes with Boost spacing
- 145mm spindle – Downhill bikes
If you're unsure which spindle is right for you, check your bike manufacturer's website for your specific bike's sizing and spacing, or check out their compatibility chart.
What's Included?
- CR1 cranks (x1 pair)
- CR1 spindle (x1)
- Chainring bolts (x8)
- Pedal washers (x2)
- Preload adjuster and pinch bolt (x1)
- Crank lock ring cap (x2)
- Crank bolts and stainless steel washers (x2)
Specifications
- Three-piece design
- 29mm crank spindle diameter
- Aluminium pre-loader
- Available in three lengths: 155mm, 160mm, 165mm
- Machined from 7075 T6 aluminium
- Anodised matte black or chrome finish
- SRAM 8 bolt direct mount compatible only
- Chainring not included
- Compatible with Title CR1 spindle
- Compatible with SRAM DUB 29mm bottom brackets only
Chain Compatibility by Chainring
SRAM T-Type: compatible with SRAM T-Type 12-speed drivetrains only.
Shimano HG 12: compatible with Shimano HG12 12-speed chains such as:
- XTR CN-M9100/M9200
- XT CN-M8100/M8200
- SLX CN-M7100/M7200
Regular: compatible with most 9-12 speed drivetrains including the following:
- All 9, 10, 11 & 12-speed SRAM drivetrains
- All 9, 10 & 11-speed Shimano drivetrains
- All 9, 10 & 11-speed KMC chains
- Single speed setups
Axle Selection & Frame Compatibility
Select your axle width based on your frame's rear hub spacing, drivetrain standard, and required stay clearance. All widths are engineered to the same high-strength standard for everything from DJ to DH.
130mm
- Chainline: 52mm
- Q-Factor: 168.5mm
- Arm Clearance: 70.25mm
Frame fitment: Dirt Jump, XC, and Trail frames with 135mm, 142mm, or 148mm Boost spacing. Standards: matches SRAM Eagle Boost (52mm) and Shimano M9100 / M8100 / M7100. Technical note: optimised for riders seeking the narrowest stance (Q-factor) on bikes with standard chainstay profiles.
136mm
- Chainline: 55mm
- Q-Factor: 174.5mm
- Arm Clearance: 73.25mm
Frame fitment: modern 29er Trail and Enduro frames with high tyre clearance and wide stays. Standards: matches SRAM Transmission (T-Type), SRAM DUB Wide, and Shimano M9120 / M8120 / M7120. Technical note: required for SRAM T-Type systems. Provides +3mm lateral arm clearance per side to clear flared or oversized chainstays.
145mm
- Chainline: 56.5mm
- Q-Factor: 183.5mm
- Arm Clearance: 77.75mm
Frame fitment: Downhill (DH) and Super Boost+ frames. Standards: matches SRAM DUB DH, SRAM SB+ (Super Boost), and Shimano M9130 / M8130. Technical note: designed for 157mm rear spacing. Requires a 6mm offset chainring to maintain the 56.5mm chainline. Maximum clearance for reinforced gravity frames.
Weights
- 130mm spindle = 104g
- 136mm spindle = 107g
- 145mm spindle = 113g
- 165mm CR1 cranks with 136mm spindle = 680g
- 32T 8-bolt chainring SRAM TT 8 bolt = 72g
Installation Guide
Things you will need:
- Crank arms
- Chainring
- 8 chainring bolts
- Wrench with T20 bit
- Spindle
- Torque wrench
- Grease
- 8mm allen key
- 2.5mm allen key
Assembly time: approximately 5-10 minutes. Difficulty: easy.
Installing Chainring and Spindle
Step 1 (chainring installation): place the chainring on the appropriate crank arm and tighten using the 8 chainring bolts provided.
Step 2: torque the chainring bolts to 4Nm.
Step 3 (spindle installation): properly lubricate the opposite crank arm with appropriate grease (as shown in photos).
Step 4: tighten the spindle using an 8mm allen key, ensuring the spindle is threaded properly. Using a cloth or shop towel, clean any excess grease that is pushed out. Torque to 55Nm.
Installing Cranks on Bike
Step 5: liberally apply grease to the spindle and slide on from the non-drive-side of the bike.
Step 6: prepare the drive-side crank arm by greasing the contact point (as shown in photo). Then install the crank arm (with chainring) using an 8mm allen key. Ensure the crank arms are positioned properly on either side of the bike. The chain can now then be installed.
Make sure to use the proper amount of spacers on either side of the bottom bracket for optimal chainline. This information can be found on SRAM's website.
Step 7: torque the cranks to 55Nm.
Step 8: screw the preload adjuster (towards the bottom bracket), then using a 2.5mm allen key, tighten pre-loader pinch-bolt to 1Nm.
Installing Pedals
Step 9 (installing pedals): properly grease the pedal threads, place the provided washer on the crank arm and thread the pedal on. Torque to 35-40Nm.
If you're using Title crank boots (coming soon), follow the same process as above, mount the washer on the crank arm, then slide the boot over before installing the pedal.
Additional
Their CR1 cranks are professionally lubricated and spec'd from the factory, but to ensure longevity, the outer crank bolt (as seen in the photos) should be torqued to 20Nm using a cassette tool.